Ah, decadent chocolate and aromatic peppermint – the flavours of the holidays, in a cookie bite so perfect that you won’t even believe you made them yourself. These are also very attractive and store well after cooling. These are amazing as gifts since they look so special and difficult, but the secret will be ours.
Chocolate Peppermint Thumbprint Cookies
Ingredients
- 170 g All-purpose Flour
- 60 g Unsweetened Dutch-processed Cocoa
- 3/4 tsp Slt
- 57 g Bittersweet Chocolate chopped
- 57 g Mint Chocolate chopped
- 226 g Unsalted Butter softened
- 75 g Granulated Sugar
- 2 tbsp Dark Brown Sugar
- 2 egg yolk Large
- 1 tsp Pure Vanilla Extract
- 225 g Coarse Sugar optional
Peppermint Ganache Filling
- 85 g White Chocolate Chopped
- 3 tbsp double cream
- 0.5 tsp Pure Peppermint Extract
Instructions
- In a medium bowl, add the flour, cocoa, and salt. Blend the dry ingredients together and set aside.
- Partially melt the bittersweet and mint chocolate in a microwave safe bowl, 30 seconds at a time until the chocolate is almost melted. The chocolate will continue to melt after it is removed from the microwave. Be careful not to overheat the chocolate. Stir the chocolate until it is smooth. If there are still solid chunks, return the bowl to the microwave and heat for an additional 30 seconds. Stir again and set aside to cool.
- In a large bowl, whip the butter until it is smooth. Add the granulated and the brown sugar. Cream the butter and sugar by mixing on medium-high speed for about 3 minutes or until the mixture is light and fluffy. Add the egg yolks and vanilla. Mix well.
- Take the now cool, melted chocolate and add into the sugar mixture, blending just enough to incorporate.
- Now, into the large bowl add the flour and dry ingredients mixture which was set aside earlier.
- Mix on low speed until smooth. Be sure to scrape the side of the bowl as you go.
- Place the dough on a sheet of plastic wrap that is about 41cm wide. Pat the dough into a circle that is about 178mm wide. Fold the plastic wrap around the dough and refrigerate for at least 1 hour, until it is chilled and firm.
- Adjust the position of the oven racks to the upper and lower third of the oven and preheat the oven to 177°C.
- Lightly grease two cookie sheets.
- In a shallow bowl, add the coarse sugar and set aside.
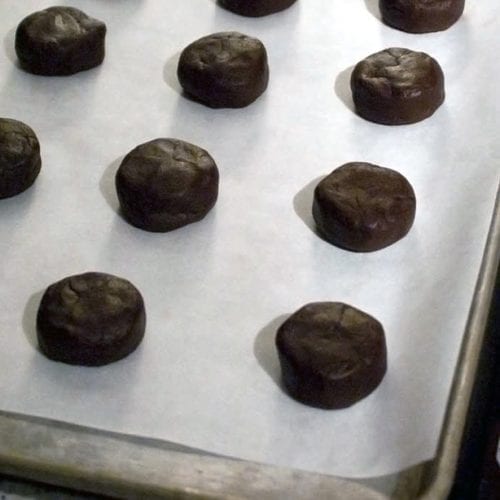
- Use a tablespoon to scoop up some of the dough and then roll the dough into a ball.
- Roll each ball in the coarse sugar and place it on a baking sheet.
- Press the back of a melon baller or use your thumb to make an indentation in the centre of each cookie.
- Bake the cookies for about 10 minutes, until they are only slightly firm.
- Remove the cookies from the oven and press the melon baller into the cookies again.
- Return the cookies to the oven to bake for an additional 5 minutes, switching the rack placement. You want the cookies to be a bit dry but not hard.
- When done, gently move the cookies to wire racks and allow them to cool completely.
For the Peppermint Ganache Filling
- In a small microwave safe bowl, add the cream and microwave it on high power for about 30 seconds, until it begins to boil.
- Drop the white chocolate into the hot cream and allow the chocolate to melt.
- After a few minutes, stir the warm chocolate cream until it is smooth.
- Add the peppermint extract to the small bowl and stir to incorporate it with the chocolate.
- Using a tablespoon, fill the thumbprints in the cookies with the peppermint ganache filling.
- Refrigerate the cookies for about 30 minutes or until the filling sets in the cookies.
- Instead of using the microwave, place the chocolate into a glass bowl. Place a large saucepan half filled with water on to the hob and bring to the boil. Reduce the heat until the water is simmering.
- Place the bowl into the saucpan and gently heat the chocolate.
Notes
Members can add their own private notes to recipes!
Tried this recipe?Let us know how it was!